

Sometimes craftiness doesn't go as planned. I was watching an episode of Restaurant Impossible, the designer on the episode described how to transfer an image to plywood using gel medium. She made it sound so simple. Apply acrylic gel medium, place image, let it dry, dampen the paper & rub away the pulp. Sounds easy enough. Here's my attempt at what should have been a simple craft.

This craft has a secondary purpose, do you remember my lights? Part 2 went well, the light looks more complete and the wires are well managed, compared to Part 1. In the works is Lights, Part 3, the current situation doesn't spread the lights out very well. This next version of light should help disperse them a little more.

I sent my dad home with a piece of plywood and emailed him the image above with instruction on the grooves to cut and holes to drill. The final product is yet to come and most of this is because the finish of the wood is yet to be determined. This image transfer was one idea, I'm not sure if I need to practice a few more times or try another option.
Here's the first few steps, with a little help from CPB....

The images were printer on a laser printer.


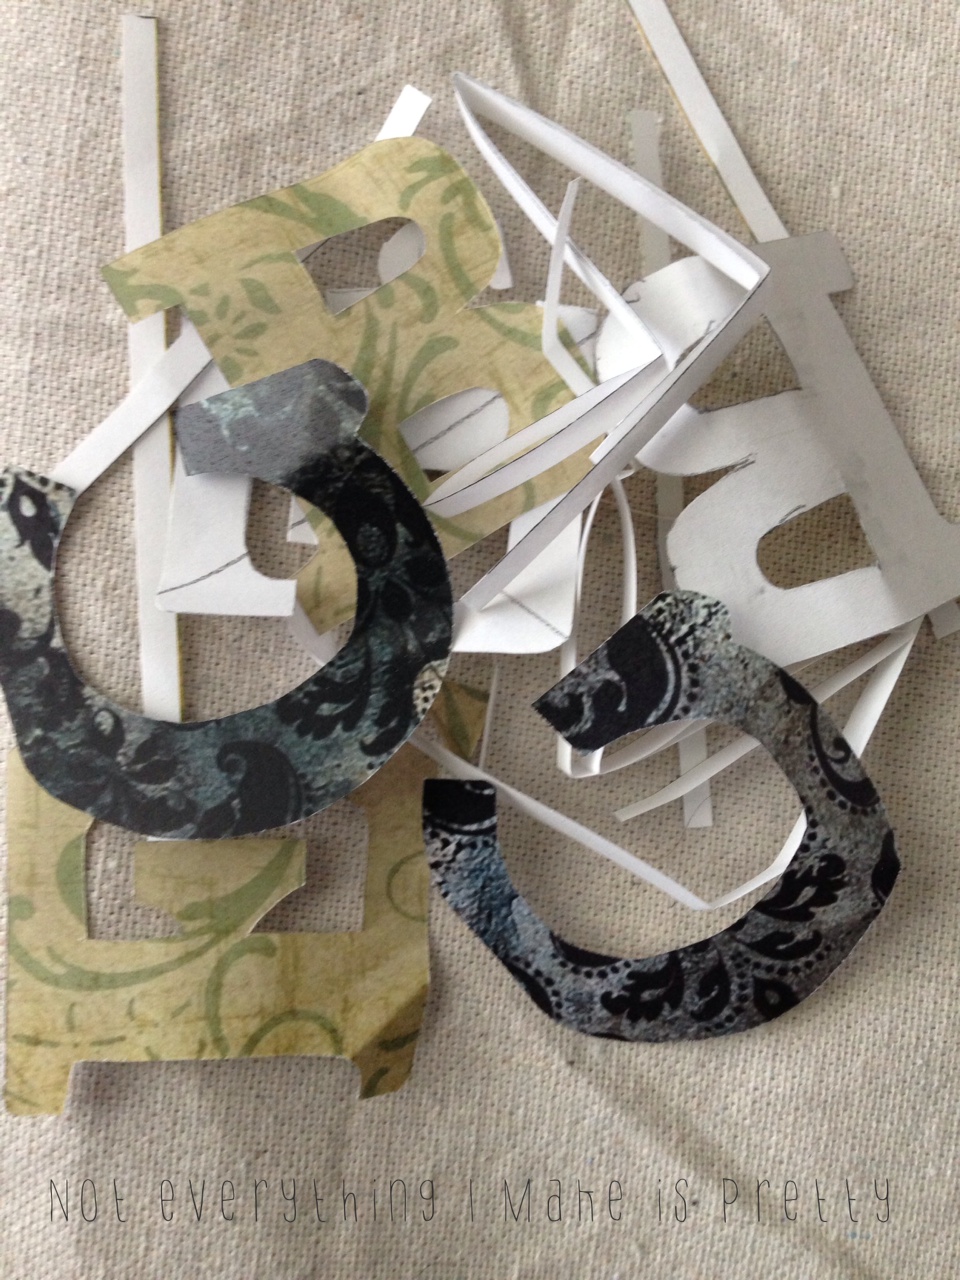
In lieu of stencils I used the little metal letters and transformed the E into a B.

I purchased the Gel Medium from Michaels, I chose a matte but they had gloss options as well.
(I found instructions from Golden Paints on image transfer.)
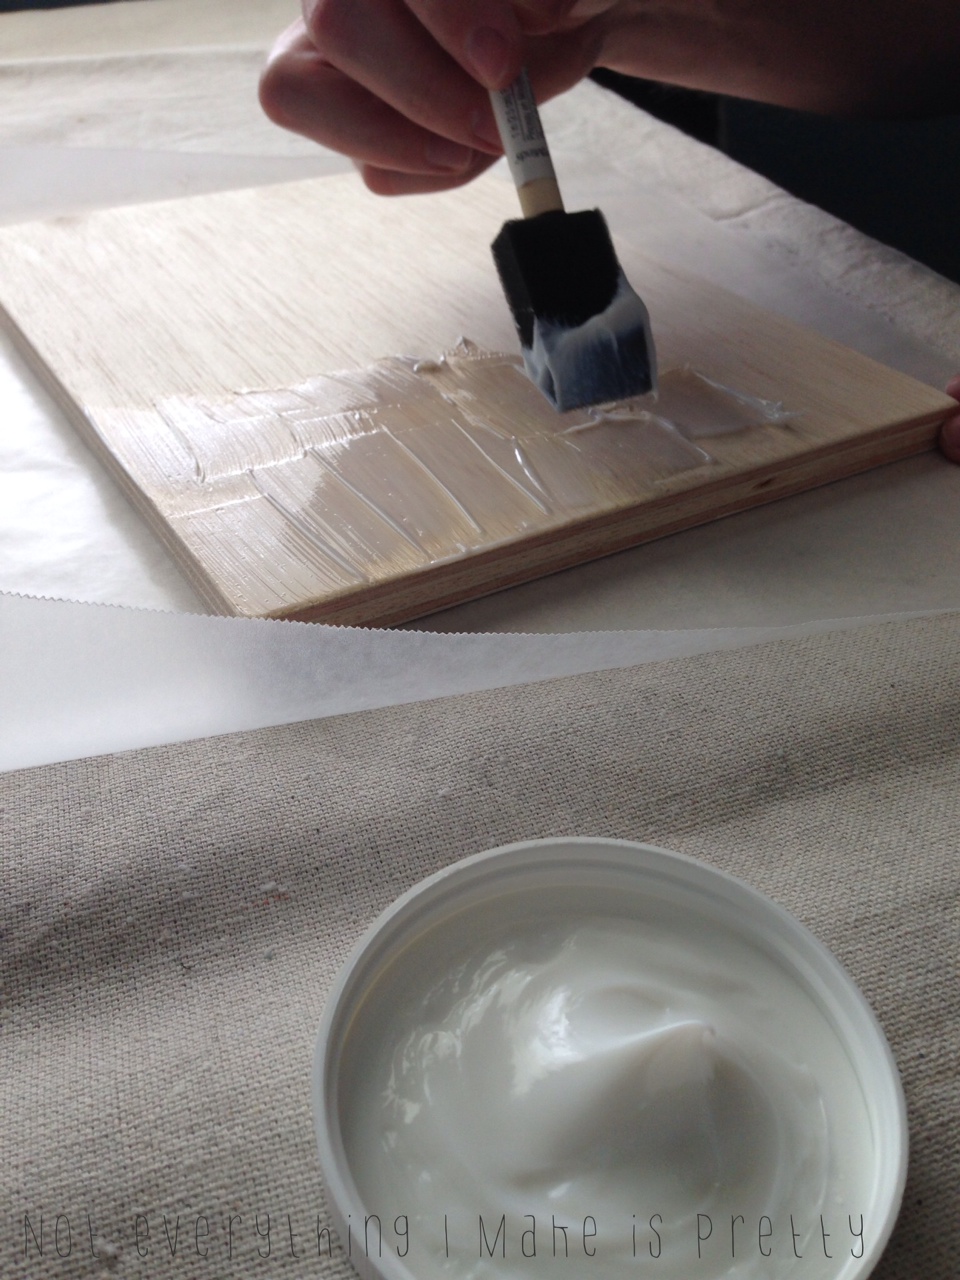

A foam brush spread the gel medium, it goes on white but dries transparent.
Press down the cut out letters. The letter outlines were placed first.

Next the backgrounds, making up the letter fill, the letters and backgrounds are alternating colors.

We covered the letters with wax paper and then used books to flatten them while they dried.
More to come....
Happy Crafting!

No comments:
Post a Comment